Application and care
Where to apply domed stickers and how to prepare the surface
Metal, plastic, packaging and automotive details: suitable surfaces, why testing matters and how to apply a dome label accurately.
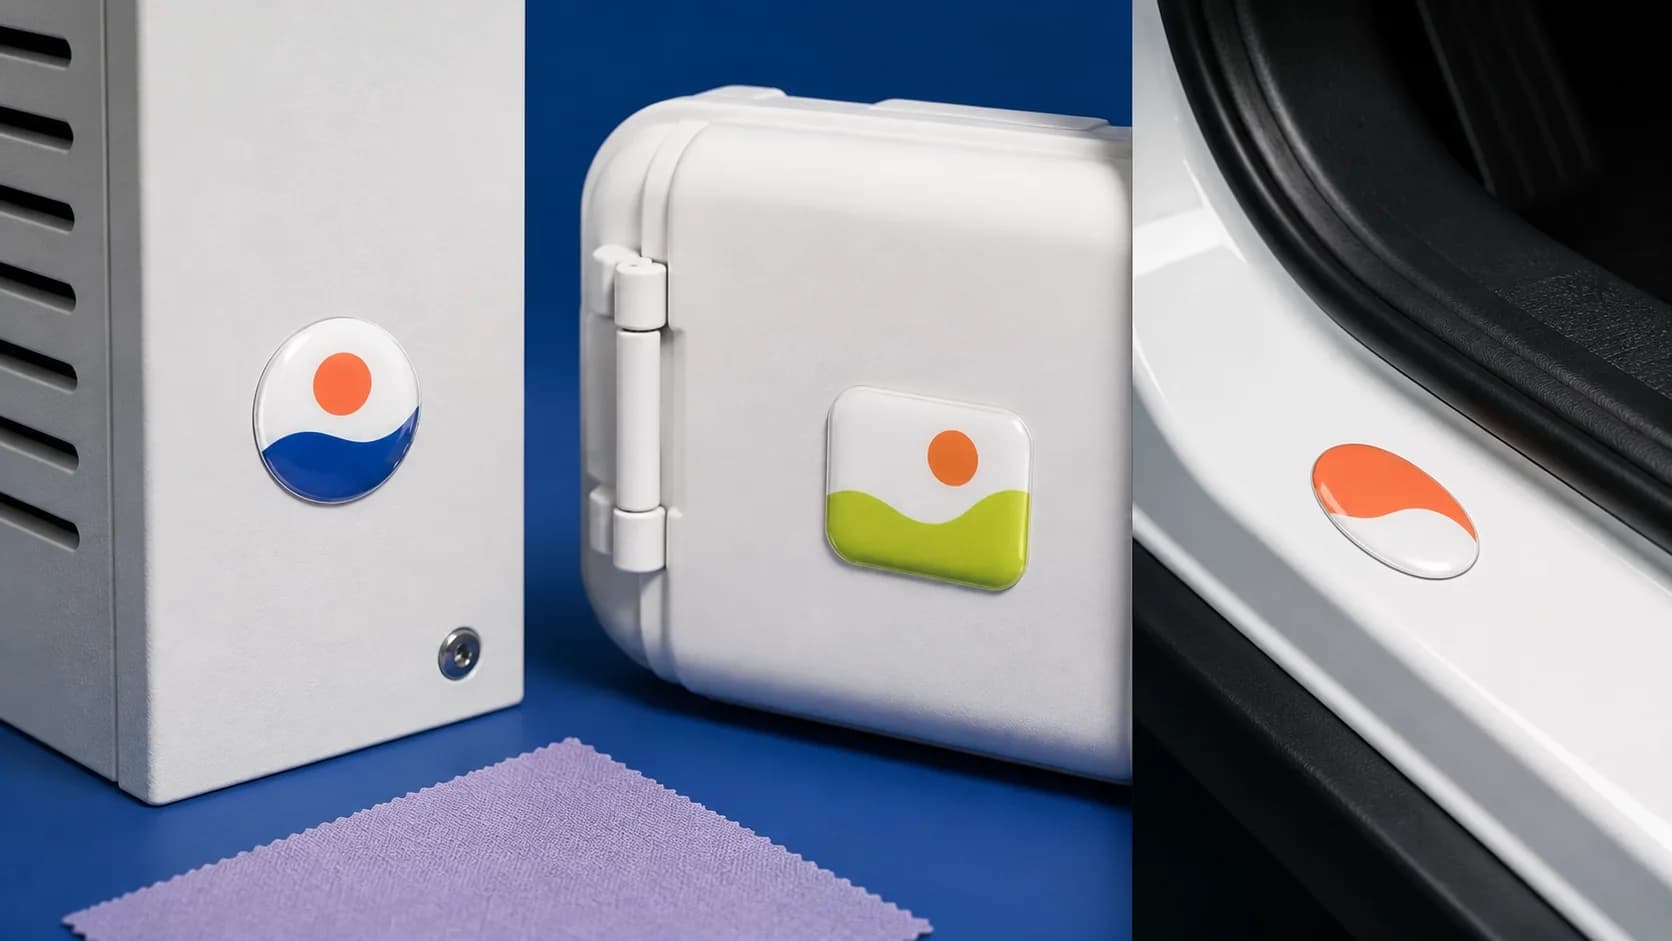
An adhesive dome label does not bond to a material name; it bonds to a specific surface. Two plastics may look identical while differing in surface energy, texture and additives. Painted metal may be smooth or heavily powder textured, while packaging can be laminated, dusty or coated. Compatibility tables provide direction, but a sample on the real object is more reliable than a broad promise.
The preferred scenario is a clean, dry, smooth and stable area without strong curvature. The adhesive needs contact across its full plane. Dust, grease, silicone, moisture, texture and continuous deformation all reduce the effective contact area.
A label does not adhere to the word ‘plastic’ or ‘metal’. It adheres to the exact area you selected, cleaned and tested.
Application practice
Surfaces worth testing first
- smooth painted metal on equipment and product casings;
- glass and even glazed surfaces;
- rigid plastic with little or no texture;
- laminated boxes and durable packaging;
- acrylic, composite and other flat sheet materials;
- painted automotive details only after testing the exact location and conditions.
Surfaces that need caution
Soft and low-surface-energy plastics, silicone, rubber, fabric, unfinished timber, coarse powder coating, porous board and non-stick additives can all present difficulties. On a tightly curved object, a flat label remains under continuous edge stress. A smaller label or a flatter position may be more reliable.
Domed stickers on cars
The phrase ‘3D car sticker’ describes very different products, from large decorative vinyl graphics to small polymer badges. This website concerns the latter. A compact dome label may suit a smooth painted or plastic detail, accessory casing, interior panel or flat door-sill area when the adhesive and substrate are compatible.
Exterior use introduces ultraviolet light, water, chemicals, washing, heat and frost. Indoor performance cannot automatically be transferred to a vehicle body. Confirm the product specification, define the environment and test a sample in the real location. Never place a label over safety equipment, visibility areas, number plates, airbags, sensors or moving parts.
Surface preparation
- Choose a flat position
Ensure the label does not bridge a bevel, seam, hole or continuously flexing area.
- Remove dust
Small particles create points where the adhesive cannot contact the substrate.
- Degrease safely
Use a cleaner compatible with the exact finish and test it first in an inconspicuous area.
- Let it dry completely
Moisture and cleaner residue must not remain beneath the adhesive.
- Mark the alignment
For a large or elongated badge, use light guides that will not damage the surface.
- Press evenly
Do not stretch the adhesive or bend the polymer lens; apply even pressure over the entire area through a clean protective material.
After application
Do not immediately test the bond by lifting an edge. The adhesive needs time to develop contact; the exact period depends on the adhesive and conditions. Avoid water, strong heat and mechanical stress during the initial period. Clean the lens with a soft non-abrasive cloth and avoid aggressive solvents.
Before ordering a large batch
- obtain several samples or use a test label;
- apply it to the same substrate and finish used in production;
- expose it to realistic temperature, cleaning and handling;
- inspect the edges, underlying finish and removal behaviour;
- record the successful position and preparation method for staff.
A few minutes of correct preparation protects the entire batch. When the surface remains uncertain, do not compensate with excessive pressure: run a test, choose a different position or agree on another marking method.
How it looks

